5 Tavla Strategy Tips to Win More Matches
Rules tell you which landings are legal. Strategy tells you which legal landing you should actually take. Most tavla games are lost on ordinary rolls — 6-3, 5-2, 4-4 — where two plays both look fine and only one of them keeps your position from leaking. This article is a working set of habits, not a list of “always” moves. Dice still dominate any single game; the point of strategy is to stop donating games you should have converted.
If you still mix up the bar and bearing off, read the complete tavla rules first. Then come back here and play slower than your ego wants. On GAMEAREA you can drill against a bot or take a ranked seat on the Tavla page with the same server-verified rules either way.
1. Count pips, then choose race or contact
Pip count is the total distance remaining for all fifteen checkers to bear off if every roll were used perfectly and nobody ever hit you. You do not need a perfect running total every turn. You need a band: well ahead, about even, or well behind.
When you are well ahead, extra contact is usually a gift to the opponent. Hitting a blot that you cannot contain puts a fast checker back into play and hands them a shot at your outfield. When you are behind, a pure race is a slow loss. You need hits, anchors, and time — even if those plays look “uglier” than running.
A practical shortcut: if your back checkers are already out and your stacks are marching, stop looking for heroic double-hits. If two of your checkers are still stuck behind a prime, stop pretending you are racing. The board will tell you which game you are in if you look at the stragglers instead of the last roll’s highlight.
2. Build the home board before you get greedy in the outfield
Points 1–6 are not decoration. A made 5-point and 4-point turn a hit into a crisis: the opponent must enter on a shrinking set of numbers. A checker sent to the bar against an empty home board walks back in on most rolls and continues the race. Same hit, opposite value.
Early on, making the 5-point, 4-point, or 20-point (your opponent’s 5-point, as an anchor) is usually worth more than grabbing a few extra pips with a blot. Anchors in the opponent’s home keep you from being closed out and give you a landing strip after they get hit. You cannot build every point at once. Sequence them: inner points that close numbers, then the blocking prime in front of their runners.
Primes, not random stacks
Six consecutive made points is a full prime: nothing jumps over it. You rarely complete one, but even a four-prime in front of two enemy checkers is a winning structure. The mistake is scattering made points with holes the opponent can hop. Prefer adjacent points over “pretty” stacks that do not talk to each other.
3. Blots are a budget, not a sin
Beginners try to never leave a blot and end up playing cramped, forced numbers. Stronger players leave blots on purpose when the opponent’s hitting numbers are few, or when the blot is on a point that is useful even if it gets hit (a builder that also makes an extra 5 if it survives).
Count shots the way you already count dice combinations: 11 of 36 rolls contain any given number, so 11 rolls include a 6 and 11 include a 4. Add the combinations and a blot six pips away is hit by 17 of 36 rolls (the eleven 6s, plus 5-1, 4-2, 3-3 and 2-2). A blot six pips away from a stack of enemy checkers is not the same as a blot sitting next to a single checker with no spare. Direct shots (one die) are more dangerous than combinations that need both dice in a specific order.
When two plays leave the same number of blots, prefer the blot that is harder to hit and easier to cover next turn. When one play leaves two blots and the other leaves one in a killing zone, take the single blot. That is the whole “don’t leave blots you don’t have to” rule, restated without superstition.
4. Worked example: hitting on a 4-3 in the midgame
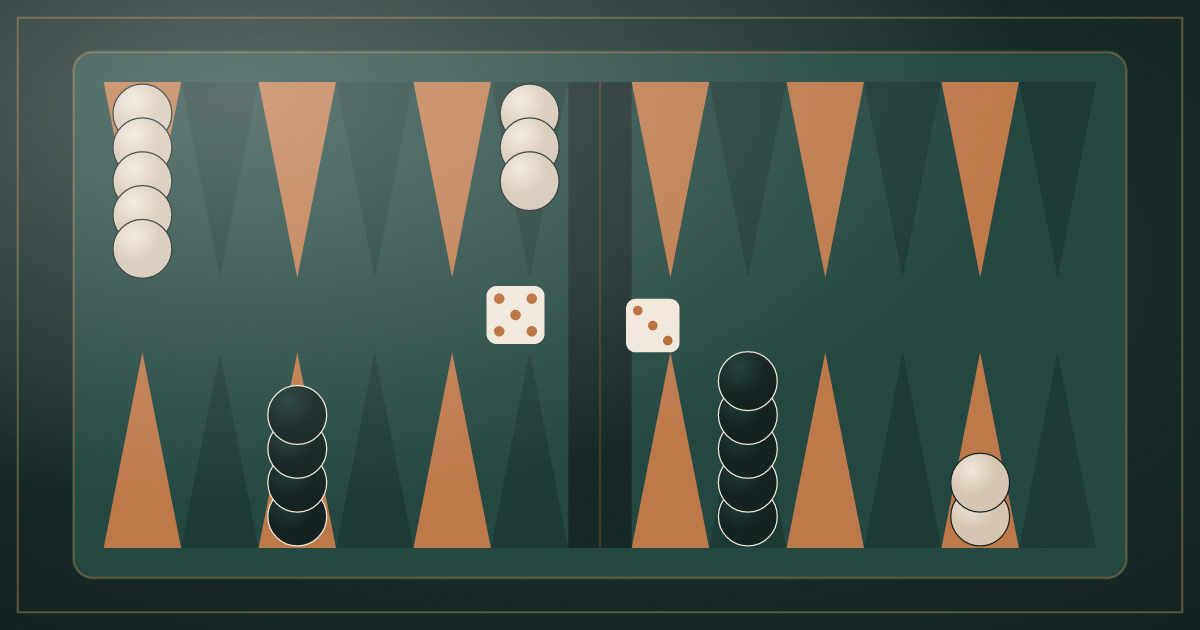
Imagine this shape. You have a blot on your 9-point. The opponent has a blot on your 5-point (their 20-point). You roll 4-3. One tempting play hits on the 5-point (9/5*) and then tucks the spare 3 somewhere in the outfield, leaving your hitter as a new blot on the 5-point. If their home board is weak, this is often correct: you send them to the bar and you own the 5-point if they miss.
Now change one fact: they already own their 5, 4, and 3-points. Hitting on your 5-point still feels good, but you have put a blot in front of a three-prime. Many return rolls hit you back immediately, and you will re-enter against that same prime. In that version, using the 4-3 to cover your own 9-point or to make an inner point — without hitting — can be the real win. The hit is only valuable if the opponent cannot punish the blot you leave behind.
Ask two questions before every hit: how many rolls enter from the bar against my home board, and how many of their next rolls hit the blot I just created? If both answers are “a lot,” you are trading a highlight for a lost race.
5. Bear off like someone who can still be hit
Once all fifteen checkers are home, greedy players strip the high points and leave a lone checker on the 6 or 5. If the opponent still has a checker in your home or on the bar waiting to enter, that blot is a game. Safer bear-off keeps even stacks: two on a point is a closed door, one is a target.
Use oversized rolls to clear the highest remaining checkers, but do not empty a point if it leaves a blot while contact remains. Sometimes you play a 3 as 6/3 from a spare on the 6-point instead of bearing a checker off the 3-point, just so the 3-point keeps two checkers instead of becoming a blot. That looks slow. It is often the difference between a win and a humiliating hit-and-walk.
When the opponent has no checker that can reach you, then race. Until that moment, assume the dice will try to embarrass you.
Practice that actually transfers
Play short sessions with one focus: one game you only think about pip count, one game you only think about inner-board points, one game you refuse hits that leave a direct shot. Mix in a chess or reversi match if you want a no-dice palate cleanser — both reward the same habit of asking “what does this leave hanging?” before you click.
For a week-long structure that takes you from first legal move to ranked, use the 7-day practice plan. When you want the board itself, play Tavla on GAMEAREA: casual to learn, ranked when the five habits above start happening without a checklist.
Frequently asked questions
Does a higher pip count always mean I am losing?
No. Pip count ignores structure. A player who is 15 pips behind but owns a five-prime in front of two trapped checkers is often winning. Use pip count to choose a plan (race versus contact), not as a final score.
Should I always hit a blot when I can?
No. Hit when you can contain the checker or when you are behind and need time. Skip the hit when it leaves a blot in front of a strong home board or when you are already far ahead in a race.
What is an anchor and why do people want one?
An anchor is a made point in the opponent’s home board, often their 5-point or 4-point from your side. It prevents a closeout, gives you a safe landing after they get hit, and keeps contact available when you need it.
How do I practice this without annoying friends?
Use bot practice and casual matchmaking on GAMEAREA Tavla. Review one decision per game — the hit you took or the blot you left — instead of replaying every roll.
Is doubling-cube strategy part of GAMEAREA tavla?
This guide covers movement and match play: racing, priming, hitting, and bearing off. Play the live board you are given; do not import cube rituals from a different table unless the client actually offers them.