Rook endgames in chess: Lucena, Philidor and building a bridge
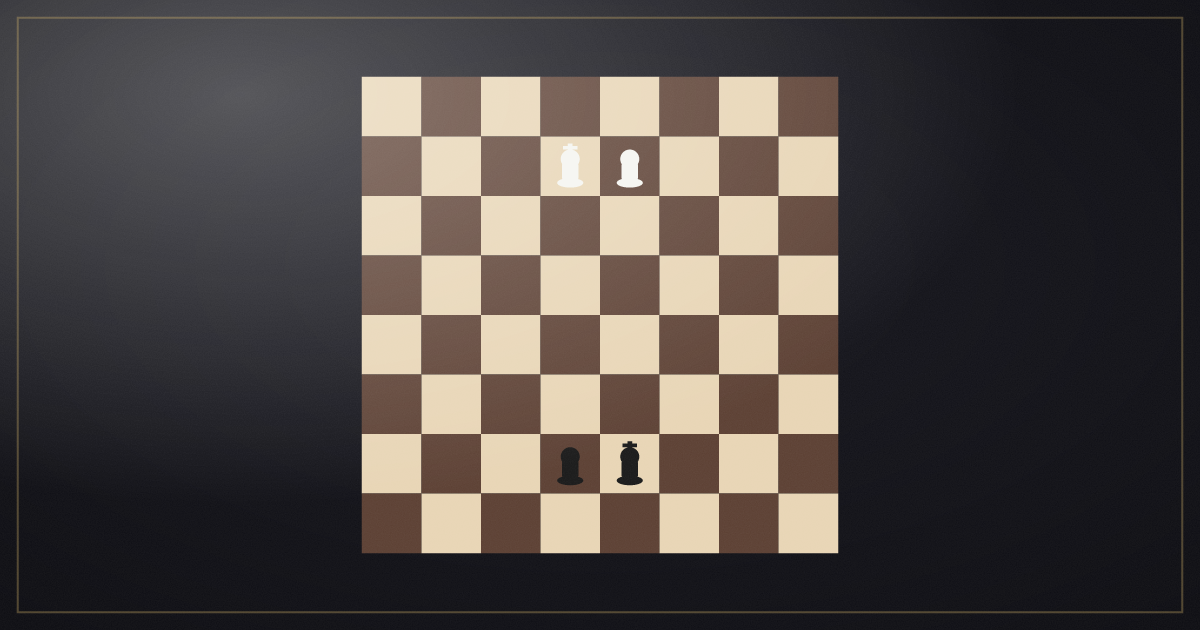
Rook and pawn endgames are the most common type of endgame in chess, and most of them come down to a single question: will the side with the pawn reach the Lucena position, or will the defender set up the Philidor? A player who knows these two positions and the few principles that connect them won't let a won game slip to a draw, and will save games that look lost.
In short
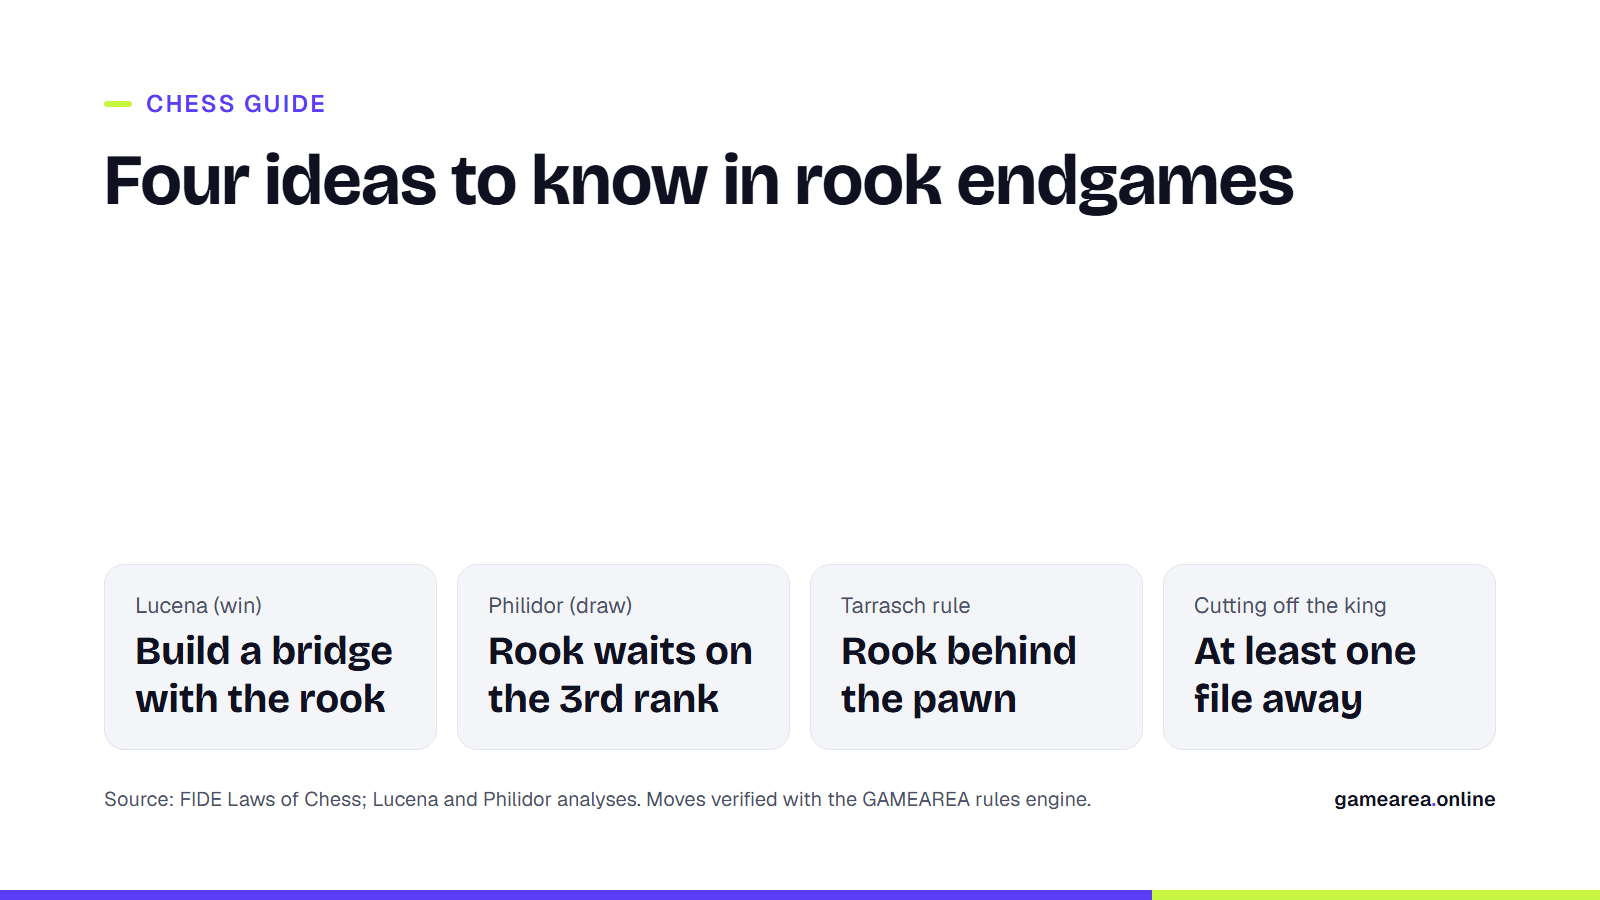
- In the Lucena position, the winning side brings the rook to the fourth rank and uses it to shield the king from side checks; this technique is called "building a bridge".
- In the Philidor defence, the defending rook waits on its own third rank until the pawn advances, then checks from behind from the far side of the board.
- According to Tarrasch's practical rule, a rook is most effective behind a passed pawn, whether its own or the opponent's.
- Cutting the enemy king off by one or more files is the first step of most wins.
Why do rook endgames matter so much?
According to statistics cited in the sources, rook and pawn endgames arise in roughly 8 to 10 percent of games played. Most of them, once the other pawns on the board have been exchanged, come down to a rook and one pawn against a lone rook. At that point the result depends on which of two well-known positions the game reaches. The logic from our guide to king and pawn endgames, opposition and the rule of the square, applies here too: whether the king stands in front of the pawn changes everything.
We give the moves below in standard English algebraic notation: K king, Q queen, R rook, B bishop, N knight; pawn moves show only the square. We checked every line by playing it through, move by move, in GAMEAREA's chess rules engine, confirming that each is legal and that the stated result (check, mate, draw) really occurs.
How do you build a bridge in the Lucena position?
The position: White Kd8, Re1, pawn d7; Black Kf7, Rc2. White to move. White has brought the pawn to the seventh rank, but because White's own king is standing on the promotion square, the pawn can't advance. Black's rook holds the c-file and stops the king from stepping out on that side.
First, the wrong way: 1.Rf1+ Kg7 2.Ke7 Re2+ 3.Kd6 Rd2+ 4.Ke6 Re2+ 5.Kd5 Rd2+ ... As the white king leaves the pawn's side, the checks from the side never stop and White makes no progress.
The right way is to place the rook in advance on the rank where it will shield the king from checks:
1.Rf1+ Kg7 2.Rf4! Rc1 3.Ke7 Re1+ 4.Kd6 Rd1+ 5.Ke6 Re1+ 6.Kd5 Rd1+ 7.Rd4
Once the rook reaches d4, Black has nowhere left to check from; even if the rooks come off, the black king can't get to d8 in time and the pawn queens. In our engine search, from the position after 4...Rd1+, White promoted to a safe queen within six moves at most against every Black defence. The bridge is built on the fourth rank to give the white king room to come down as far as the fifth rank and to let the rook step in between.
What is the most common mistake in the Lucena?
If, instead of checking, Black plays 5...Kg6 to approach the rook, building the bridge one rank higher looks tempting. But 6.Rf5?? is a blunder: after 6...Rxd7! 7.Kxd7 Kxf5 only the two kings remain and the game is drawn. Under the FIDE Laws, this "dead position", where no sequence of legal moves can lead to mate, ends the game in a draw automatically. The correct way is to check first and drive the black king away: 6.Rf6+ Kg7 7.Rf5! Re1+ 8.Kd6 Rd1+ 9.Rd5, and this time the bridge is built on the fifth rank.
How does the Philidor defence work?
This time we're on the defending side. The position: White Kd5, Rh7, pawn e5; Black Ke8, Rb6. White to move. The black king is on the pawn's promotion square, and the black rook is waiting on its own third rank (the sixth rank). This rook stops the white king from entering the sixth rank; the only squares left for the white king are on the fourth and fifth ranks.
1.Ra7 Rg6 2.e6 Rg1! 3.Kd6 Rd1+ 4.Ke5 Re1+ 5.Kd6 Rd1+
The moment the pawn reaches the sixth rank, the rook changes its job: the white king no longer has a pawn to shelter behind, so the rook goes as far away as possible and checks from behind. 3.Kd6 threatens Ra8#, and Black answers by checking. When the same position occurs for the third time, a draw can be claimed under the FIDE Laws; the GAMEAREA table ends the game as a draw automatically in that case.
The critical detail of the defence is timing. If you pull the rook back to the first rank too early, while the pawn is still on the fifth rank (for example 1...Rb1), then after 2.Kd6 the white king enters the sixth rank and the door the Philidor setup was guarding is open.
Why should the rook stand behind a passed pawn?
The practical rule attributed to Siegbert Tarrasch recommends placing the rook behind passed pawns, both your own and your opponent's. The logic is simple: a rook behind the pawn controls more squares as the pawn advances, while a rook in front of it gets more cramped as the pawn advances.
An example: White Kg2, Ra1, pawn a6; Black Kg7, Ra7. Black's rook has to wait in front of the pawn to stop it and can do almost nothing else; 1...Rxa6?? loses the rook to 2.Rxa6.
In the reverse case, when the rook is in front of its own pawn, the defending side has to watch where its king stands. The position: White Kg3, Ra8, pawn a7; Black Ke7, Ra2. 1.Rh8! and if Black takes the pawn, 2.Rh7+ is a skewer: the king is checked and the rook on a7 falls. If the black king were waiting on g7 this trick wouldn't work, because the king would take the rook on h8.
The rule has exceptions too; the sources cite famous games where cutting the enemy king off from the pawn was worth more than putting the rook behind it.
What does cutting off the king achieve?
One of the preconditions of the Lucena position is that the stronger side's rook keeps the enemy king at least one file away from the pawn's file. Without this cut-off, the defending king gets in front of the pawn and reaches the Philidor setup. According to the classification cited in the sources, with bishop and centre pawns, cutting the king off by two files with the pawn on the fourth rank, or by three files with the pawn on the third rank, is enough to win.
| Position | Whose goal | Precondition | Key idea |
|---|---|---|---|
| Lucena | Side with the pawn (win) | Pawn on the 7th rank, king on the promotion square, enemy king cut off by at least one file | Rook builds a bridge on the 4th rank |
| Philidor | Defending side (draw) | Defending king on the promotion square, pawn not yet on the 6th rank | Rook waits on the 3rd rank, checks from behind once the pawn advances |
| Tarrasch rule | Both sides | A passed pawn on the board | Rook is more active behind the pawn |
| Rook pawn (a/h) | Usually the defender | Defending king has got in front of the pawn | The bridge technique doesn't always work |
| Source: FIDE Laws of Chess; analyses of the Lucena and Philidor positions (Wikipedia). Example moves checked with the GAMEAREA rules engine. | |||
Reading about these positions is one thing; applying them with the clock running is another. When you reach a rook endgame playing against the bot at the GAMEAREA Chess table, ask yourself this first: is my king in front of the pawn, or is my opponent's?
Frequently asked questions
Is the Lucena position won with every pawn?
No. The bridge technique works with every pawn except a rook pawn (on the a- or h-file). With a rook pawn, the defending side usually holds the draw.
Why does the rook wait on the third rank in the Philidor defence?
Because from there it stops the enemy king from entering the sixth rank. Once the pawn advances to that rank, the king has nowhere left to hide, and the rook switches to checking from behind.
Should the rook always go behind the pawn?
Usually yes, but not always. If cutting the enemy king off from the pawn matters more, the rook can find its best square on the side as well.
Should I accept a rook trade in a rook endgame?
Not without knowing the king and pawn endgame that results. In the Philidor position, a rook trade often guarantees the draw for the defender; the 6.Rf5?? mistake in the Lucena example, on the other hand, shows how a trade can turn a win into a draw.
Sources
- FIDE — FIDE Laws of Chess (2023) Official source
- GAMEAREA — Satranç Oyna — Tam Kurallar, Gerçek Rakipler Official source
- Wikipedia — Lucena position
- Wikipedia — Philidor position
- Wikipedia — Rook and pawn versus rook endgame
- Wikipedia — Tarrasch rule
How this content was prepared
Prepared with AI assistance from the sources listed, key facts checked against official sources, not copied verbatim. Our AI principles
GAMEAREA Editörlüğü