Backgammon opening moves: the best play for all 15 opening rolls and why
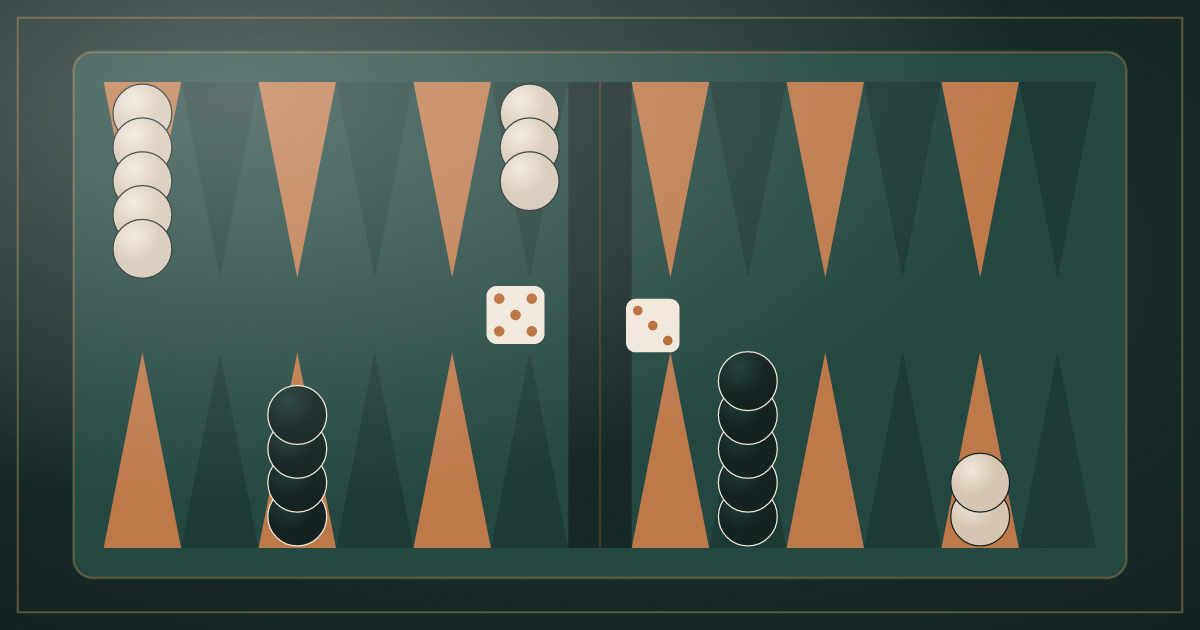
In backgammon the first roll sets the ground the rest of the game is built on: each of the 15 possible opening rolls has a "best play" tested by computer analysis. This guide shows which checkers to move on every opening roll and why that play wins.
In brief
- Doubles cannot be rolled for the opening move; the first play is one of 15 combinations.
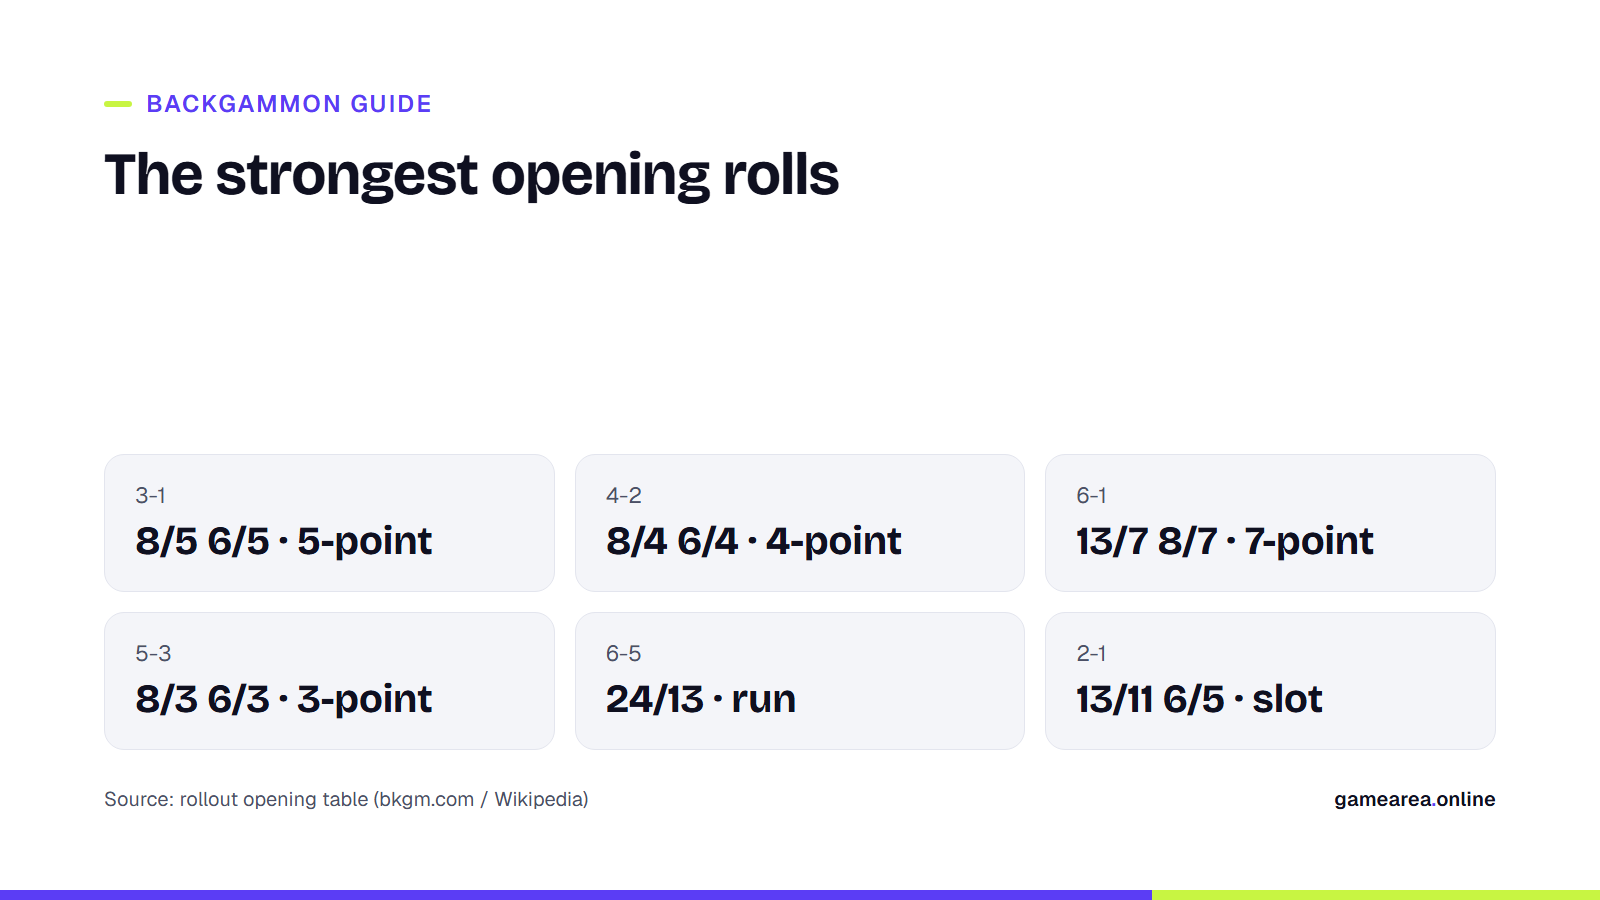
- Four rolls make a point outright: 3-1 (the 5-point), 4-2 (the 4-point), 6-1 (the 7-point) and 5-3 (the 3-point). These are the strongest opening rolls.
- With 6-5 one back checker runs to the midpoint in a single move; with 6-2, 6-3 and 6-4 one back checker splits forward while a checker comes down from the midpoint.
- The recommended plays come from rollouts, millions of simulated games; depending on the match score a close alternative can come out ahead.
How do you read backgammon notation?
The plays in this guide use standard backgammon notation. Points are numbered from 24 to 1 from each player's own perspective: points 1 to 6 are your home board, 7 to 12 your outer board, 13 is the midpoint, and 24 is where your two rearmost checkers sit in the opponent's home board. In the starting position you have 2 checkers on the 24-point, 5 on the 13-point, 3 on the 8-point and 5 on the 6-point. "8/5 6/5" means moving one checker from the 8-point to the 5-point and another from the 6-point to the 5-point; once two checkers share a point, that point is "made" and the opponent cannot land there.
A few terms: a checker standing alone is a blot and can be hit. Moving one of the back checkers forward is a split; leaving a single checker on a point you hope to make later is a slot. The 7-point, next to the bar, is called the bar point; the 5-point, the most valuable point in the home board, is known as the golden point.
Which opening rolls make a point?
The most comfortable opening rolls are the ones that bring two checkers to the same point and make it immediately. You put an obstacle in front of the opponent's back checkers and leave no blot.
- 3-1: 8/5 6/5. Makes the golden point, your 5-point. It narrows the escape routes of the opponent's checkers on your 24-point and closes the most valuable point in your home board on the very first move. Widely regarded as the best opening roll.
- 4-2: 8/4 6/4. Makes the 4-point. Not as strong as the 5-point, but still a block in your home board.
- 6-1: 13/7 8/7. Makes the 7-point (bar point). It blocks the opponent's sixes and, together with the 6- and 8-points, forms a three-point block.
- 5-3: 8/3 6/3. Makes the 3-point. The point is a little deep, so it is worth less than the other three, but its alternatives are weaker, so it is still the best play.
What do you play with the rolls that do not make a point?
The remaining 11 rolls combine two basic ideas: bringing a checker down from the midpoint (13) into the outer board to prepare a point on the next roll, and splitting one back checker forward to start bidding for a better point in the opponent's home board.
- 6-5: 24/13. One back checker runs to the midpoint in a single move. Known as the "lover's leap", it leaves no blot; the remaining back checker has to be rescued later.
- 6-2: 24/18 13/11. A back checker goes up to the opponent's bar point and a checker comes down from the midpoint to the 11-point, preparing material for the 5- or 7-point next turn.
- 6-3: 24/18 13/10. Same idea as 6-2; the alternative run 24/15 is also close.
- 6-4: 24/18 13/9. Here three plays are nearly equal: running with 24/14 or making the 2-point with 8/2 6/2. The 2-point used to be looked down on; rollouts showed it carries the same average value.
- 5-4: 24/20 13/8. The back checker splits to the 20-point and a checker comes down safely from the midpoint to the 8-point. The alternative 13/9 13/8 is close.
- 5-2: 24/22 13/8. A small split and a checker to the 8-point. The old-school choice 13/11 13/8 is not bad, but the analyses favour the split.
- 5-1: 24/23 13/8. The back checker moves up one point and a checker comes down to the 8-point. Slotting the 5-point (13/8 6/5) is no longer considered best.
- 4-3: 13/10 13/9. Two checkers come down into the outer board as "builders" for the 5- or 4-point. 24/21 13/9 and 24/20 13/10 are close alternatives.
- 4-1: 24/23 13/9. Splitting the back checker one point and bringing a checker down to the 9-point is preferred; the slot 13/9 6/5 is a close second.
- 3-2: 24/21 13/11. A small split plus a builder. 13/11 13/10 and 24/22 13/10 are very close.
- 2-1: 13/11 6/5. A checker comes down from the midpoint to the 11-point and the 5-point is slotted: the blot gives the opponent a shot, but if it survives the golden point is made easily next turn. 24/23 13/11 is the more cautious alternative.
All opening rolls in one table
| Roll | Recommended play | Close alternative | Idea |
|---|---|---|---|
| 2-1 | 13/11 6/5 | 24/23 13/11 | Slot + builder |
| 3-1 | 8/5 6/5 | — | 5-point |
| 4-1 | 24/23 13/9 | 13/9 6/5 | Split + builder |
| 5-1 | 24/23 13/8 | 13/8 6/5 | Split + safe landing |
| 6-1 | 13/7 8/7 | — | 7-point |
| 3-2 | 24/21 13/11 | 13/11 13/10 or 24/22 13/10 | Split + builder |
| 4-2 | 8/4 6/4 | — | 4-point |
| 5-2 | 24/22 13/8 | 13/11 13/8 | Split + safe landing |
| 6-2 | 24/18 13/11 | — | Split + builder |
| 4-3 | 13/10 13/9 | 24/21 13/9 or 24/20 13/10 | Two builders |
| 5-3 | 8/3 6/3 | — | 3-point |
| 6-3 | 24/18 13/10 | 24/15 | Split + builder |
| 5-4 | 24/20 13/8 | 13/9 13/8 | Split + safe landing |
| 6-4 | 24/18 13/9 | 8/2 6/2 or 24/14 | Three equal plays |
| 6-5 | 24/13 | — | Run (lover's leap) |
| Source: opening table based on computer rollouts (Wikipedia, "Backgammon opening theory", from bkgm.com data); terms from the USBGF glossary. | |||
Does this table apply in every situation?
The table was calculated for standard play where a gammon counts double and the doubling cube is in use; GAMEAREA Backgammon (Tavla) is played with those rules, so the recommended plays apply directly. In longer matches the score changes the equation and a close alternative may come out ahead: at scores where winning a gammon means a lot to you and losing one means little, more aggressive openings such as slots make sense; in the opposite case the cautious play is preferred. Playing style matters too: between two plays of equal average value, the right one depends on how you handle the position afterwards.
After the opening, things get complicated fast: the second roll has 21 possible outcomes with more than one reasonable play for each, and by the third roll roughly 25,000 different positions can arise. Memorising openings therefore only solves the first step; after that you need to weigh the risk of being hit. How often a blot gets hit from each distance is covered in our dice odds guide.
Frequently asked questions
What happens if doubles are rolled at the start?
Under the standard rule, each player rolls one die to decide who starts; if the dice are equal, both roll again. So the first move is never made with doubles, and the opening table has 15 combinations.
What is the best opening roll?
3-1. In a single move it makes the 5-point, the most valuable point in your home board, and leaves no blot. 4-2 and 6-1 come next.
Is there a worst opening roll?
Rolls that make no point and leave a blot (for example 2-1, 4-1, 5-1) are less welcome because they give the opponent a shot; still, each has a reasonable play and the table shows it.
Isn't slotting risky?
Yes, the blot can be hit. But in cases like the 6/5 slot with 2-1, if it is missed the golden point is made easily next turn; rollouts show the risk pays off on average. With 4-1 and 5-1 the same slot is no longer considered best.
Do I have to memorise these plays?
Knowing the four point-making rolls (3-1, 4-2, 6-1, 5-3) and the 6-5 run makes a big difference. For the rest, "bring a checker down from the midpoint, split a back checker a little" usually matches the table.
Sources
- United States Backgammon Federation — Backgammon Glossary Official source
- United States Backgammon Federation — Beginner's Guide to Backgammon Official source
- Wikipedia — Backgammon opening theory
- GAMEAREA — Play Backgammon (Tavla) Official source
How this content was prepared
Prepared with AI assistance from the sources listed, key facts checked against official sources, not copied verbatim. Our AI principles
GAMEAREA Editörlüğü