Bearing off in backgammon: When does it start, and what do high rolls do?
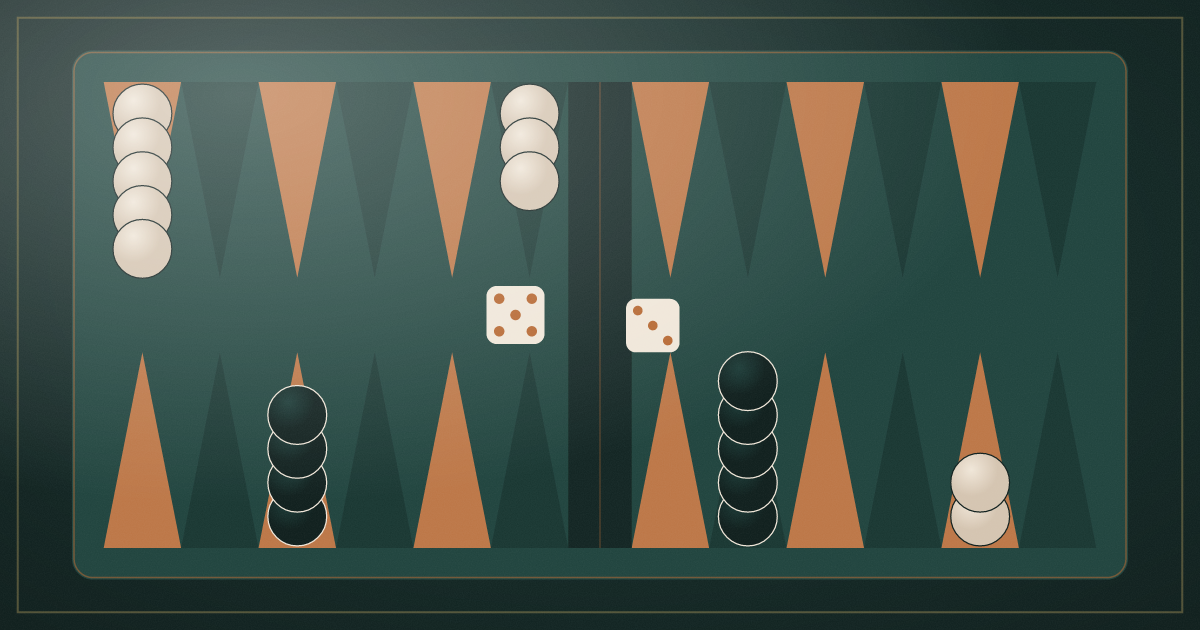
The last phase of a backgammon game is the bear-off, where you take your checkers off the board one by one, and the race is often won or lost here by a few rolls. Knowing which checker a high roll takes off, how to bear off safely while your opponent still has contact and which setups waste pips lets you finish faster with the same pip count.
In short
- Bearing off starts only when all fifteen of your checkers are in your home board and you have no checker on the bar; if a checker is hit, bearing off stops until it gets back.
- If there is no checker on the point a die shows, you must first move a checker from a higher point; if there is none higher, you bear off your highest checker.
- Bearing off isn't compulsory: you can choose to make a legal move inside your home board instead.
- With the same pip count, the side with fewer checkers and no gaps finishes faster.
When can you start bearing off?
There is just one rule: all fifteen of your checkers must be in your home board, that is, on points 1 to 6. A single checker left in the outer board, or a hit checker on the bar, locks the bear-off. If a checker you leave exposed during the bear-off is hit, it enters from the bar into your opponent's home board and has to travel all the way round the board back home; only then can you continue bearing off. GAMEAREA's Tavla engine checks this condition on every move, so an illegal bear-off move never even appears at the table.
What happens if there is no checker on the point a die shows?
If a die shows a point and you have a checker on that point, you can take that checker off the board. The trouble starts when the die lands on an empty point. There are two cases here:
- If you have a checker on a higher point, you can't bear off with that die; you have to play it inside your home board by moving a checker down from a higher point.
- If you have no checker on a higher point, the die takes off the checker on your highest occupied point. With checkers on the 5 and the 2, a roll of 6-3 lets the 6 take off the checker on the 5; then the 3 bears off the one on the 2, which is now your highest checker, and both checkers come off.
You can play the dice in either order, and the order can change the outcome. Imagine your checkers are on the 6 and the 2 and you roll 5-4. You can't bear off with the 5, because there is a checker on the 6; you move the checker on the 6 down to the 1, then bear off the checker on the 2 with the 4, leaving one checker on the 1. If you play the 4 first and move the 6 down to the 2, you bear that checker off with the 5, but this time a checker is left on the 2. The first order is better; a checker on the 1 comes off with any number on the next roll.
The two-dice rule still applies during the bear-off: if you can play both dice, you must; if you can play only one, you play the higher. On the other hand, even when a die can bear a checker off exactly, you don't have to bear off; if there is a legal move inside your home board, you can choose that. This freedom is very useful while contact remains.
How do you bear off when your opponent is on the bar or in your home board?
If your opponent's checkers have all passed yours, the bear-off is a pure race and the only goal is to take off as many checkers as you can each roll. If your opponent has a checker on the bar or holds a point in your home board, the calculation changes: every exposed checker is now a chance for a hit that could lose you the game. In that case speed takes second place.
- Clear from the back. Bear off or move down checkers starting from your highest point. A checker left alone at the back has to pass in front of your opponent's point.
- Keep even numbers. Leaving two checkers on each point reduces the chance of leaving a single checker exposed on the next roll.
- Move instead of bearing off. If a bear-off move would leave a blot, playing the same die to a safe point inside your home board is often better.
- Close the gaps. If you have empty points in your home board, later high rolls can force you to leave a blot.
To work out which blot can be hit by which roll, the tables in our article on backgammon dice odds will help.
Why are pips wasted during the bear-off?
The pip count tells you how many steps away your checkers are, but it doesn't tell you exactly how many rolls the bear-off will take, because a die bears off at most one checker. When you take a checker off the 2 with a 6, four pips are of no use at all. In our calculation using the rules of GAMEAREA's Tavla engine, two checkers on the 3-point (6 pips) take 1.53 rolls on average to bear off, while six checkers on the 1-point (also 6 pips) take 2.69 rolls on average. Same pips, different number of checkers; the result differs by more than a roll.
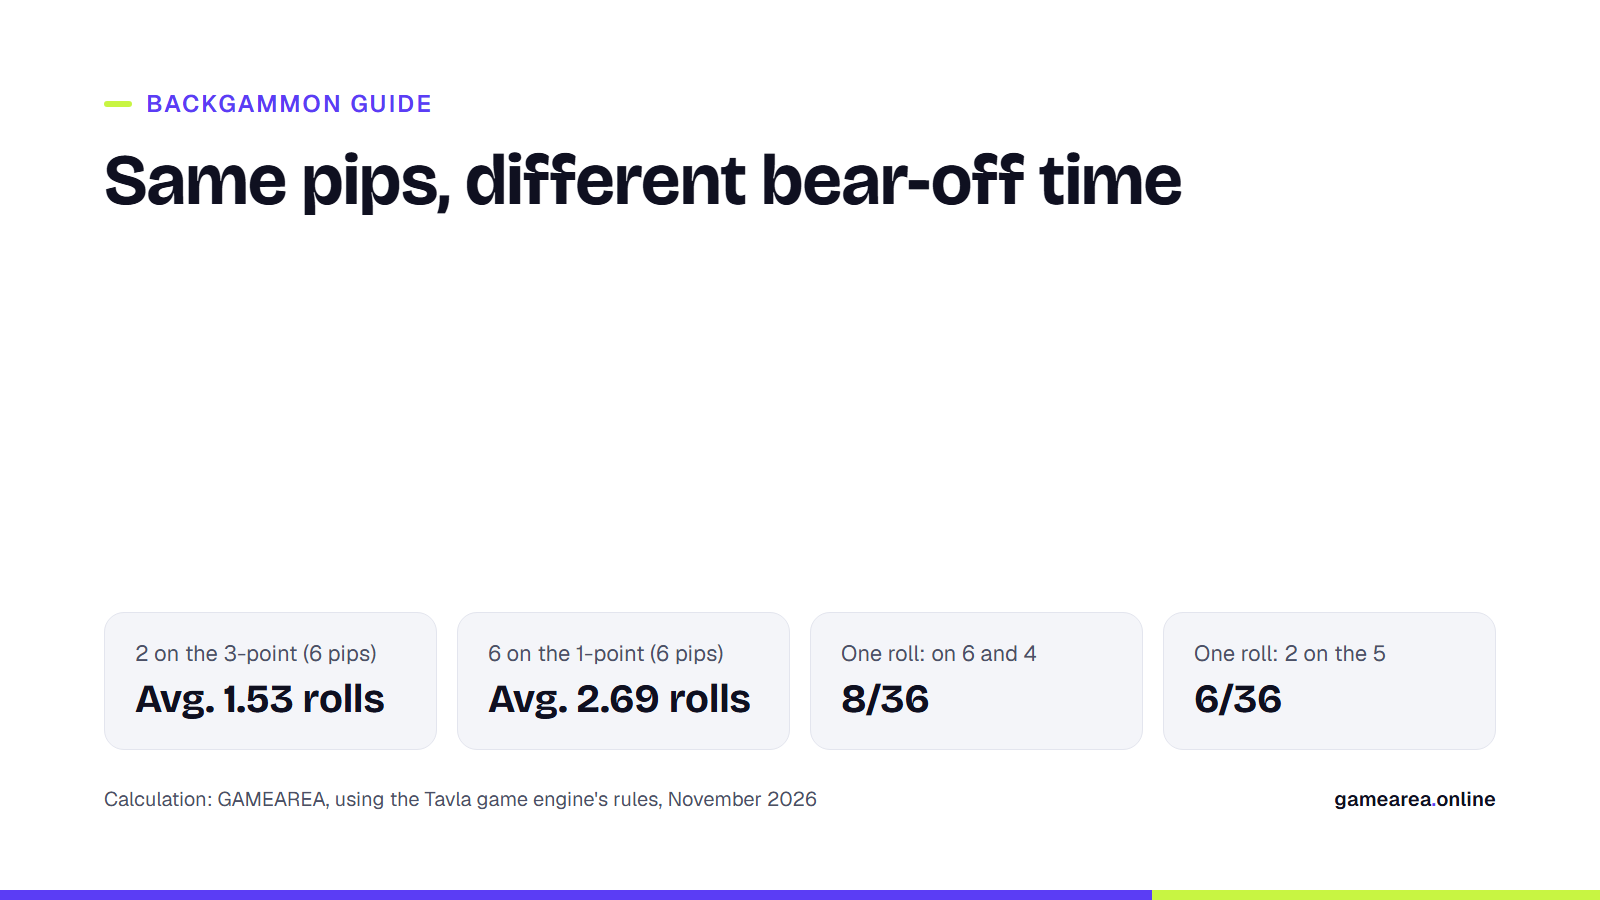
You see the same effect when two checkers are left. The chance of bearing off two checkers on the 5 in one roll is 6 in 36, but when the same 10 pips are split between the 6 and the 4, the chance rises to 8 in 36. Stacking on a single point means depending on the rolls that show that point.
| Last two checkers | Pips | Off in one roll | Average rolls |
|---|---|---|---|
| 2 and 1 | 3 | 36/36 | 1.00 |
| 4 and 1 | 5 | 29/36 | 1.19 |
| 3 and 2 | 5 | 25/36 | 1.31 |
| 3 and 3 | 6 | 17/36 | 1.53 |
| 6 and 1 | 7 | 15/36 | 1.59 |
| 4 and 4 | 8 | 11/36 | 1.71 |
| 6 and 4 | 10 | 8/36 | 1.85 |
| 5 and 5 | 10 | 6/36 | 1.92 |
| 6 and 6 | 12 | 4/36 | 2.11 |
| No-contact race, best play. Calculation: GAMEAREA, using the rules of the Tavla game engine. | |||
A comparison that isn't in the table teaches the same lesson: 6 and 1 and 4 and 3 have the same 7 pips, but 6 and 1 finishes in one roll with a chance of 15 in 36, while 4 and 3 does so with 17 in 36. The checker on the 6 only comes off with a 6 or with rolls whose total is enough. Our backgammon pip count guide explains how to measure who is ahead in the race with the raw count; in the bear-off you need to read that number together with the number of checkers and the gaps.
How do gammons and backgammons affect the bear-off?
GAMEAREA's Tavla engine ends a game in one of three ways. If your opponent has borne off at least one checker, a normal win is worth 1 point. If you finish before your opponent has borne off a single checker, it is a gammon and counts as 2 points. If your opponent hasn't borne off any checkers and still has a checker on the bar or in your home board, it is a backgammon and counts as 3 points; the results screen shows these as Gammon and Backgammon.
This changes the purpose of the bear-off for the side that is behind. If it's clear you can't win the race, your priority is to get a single checker off the board; that saves the gammon. To avoid a backgammon, you first need to get your checkers off the bar and out of your opponent's home board.
What are the most common bear-off mistakes?
- Forgetting a checker in the outer board and waiting for the bear-off to start; a single straggler holds up the whole home board.
- Playing the dice without thinking about the order; as in the 6 and 2 example above, the order decides where the remaining checker ends up.
- Bearing off with every roll while contact remains; a hit on an exposed checker can turn a big race around.
- Piling checkers on the 1 and 2 points; the same pips mean more rolls.
The easiest way to try these situations is to reach a racing position against bots at the GAMEAREA Tavla table and think through the order of the dice in two different ways.
Frequently asked questions
When do you start bearing off in backgammon?
When all fifteen of your checkers are in your home board and you have no checker on the bar. If a checker is hit during the bear-off, bearing off stops until it gets back home.
What do you do if there is no checker on the point the die shows?
If you have a checker on a higher point, you play the die inside your home board. If there is none higher, you bear off the checker on your highest occupied point.
Do I have to bear off when the die allows it?
No. If there is a legal move inside your home board, you can play that instead of bearing off; while contact remains, this is often safer.
How many points is a gammon worth on GAMEAREA?
A gammon counts as 2 points and a backgammon as 3; a normal win is worth 1 point.
Sources
- GAMEAREA — Tavla Oyna — Çevrimiçi Tavla Official source
- GAMEAREA — Tavla Nasıl Oynanır: Yeni Başlayanlar İçin Tam Kurallar Rehberi Official source
- U.S. Backgammon Federation — Backgammon Basics: How To Play Official source
- Backgammon Galore — Rules of Backgammon
- Wikipedia — Backgammon
How this content was prepared
Prepared with AI assistance from the sources listed, key facts checked against official sources, not copied verbatim. Our AI principles
GAMEAREA Editörlüğü